
Swing Browser (Networking)
Run a Java application with Internet connection
This tutorial will show you how to use CheerpJ and Tailscale to run a web browser application written in Java. The same approach can be used to give any application running in CheerpJ wider internet access.
If you’re not familiar with how CheerpJ and Tailscale work together, read the networking guide.
Pre-requisites
- Download
SwingHTMLBrowser.jar - A simple HTTP server to host your page locally.
- A text editor to create and edit an HTML file.
- A modern browser like Chrome, Firefox or Safari.
- A Tailscale account (explanation later in this tutorial)
1. The Java application
Let’s start by reviewing the Java application we will be testing. This is a simple Swing HTML browser written in Java. You can run this JAR locally if you have Java installed on your machine, but feel free to skip this step.
You can type the full URL of a website in the input field and press enter to load the page. Note that the Swing web browser is fairly old, so sites may not display the same as in modern browsers.
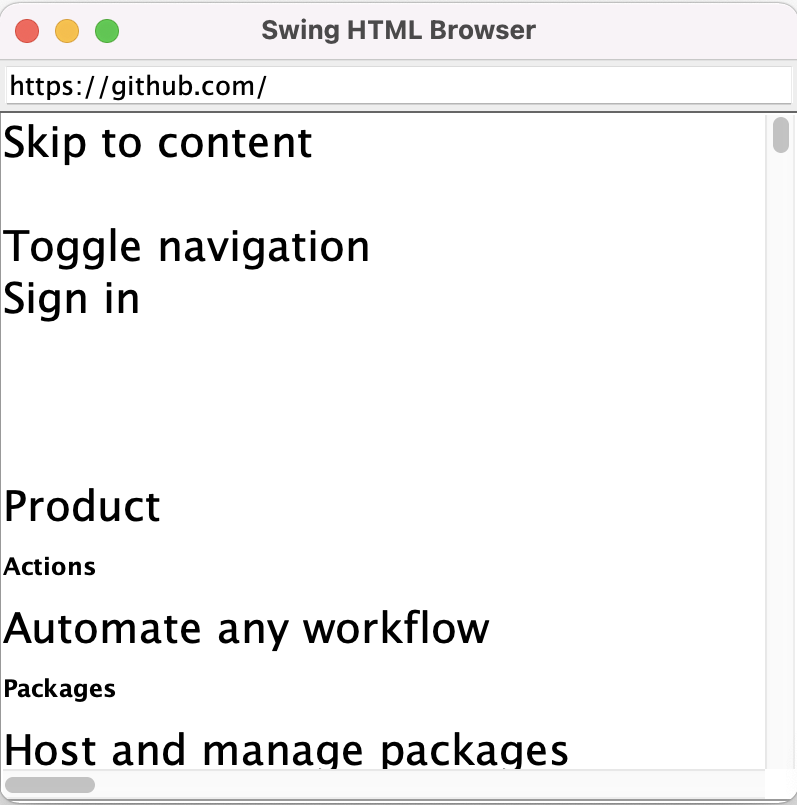
In this scenario, the page is loading because the machine you are running this application on has an active connection to the internet and Java is installed.
2. Run the application in the browser with CheerpJ
Now we want to run this Java application in the browser with CheerpJ with no Java installation on your machine! To do so, we will follow similar steps as in the Run a Java app tutorial.
2.1 The project files
Let’s create a project directory, place the application JAR in this folder and create an HTML file. Your project directory should look something like this:
└──browserTutorial ├── SwingHTMLBrowser.jar └── browser.htmlCopy and paste this code in your browser.html file:
<!doctype html><html lang="en"> <head> <meta charset="utf-8" /> <title>Browser</title> <script src="https://cjrtnc.leaningtech.com/3.0/cj3loader.js"></script> </head> <body> <script> (async function () { await cheerpjInit(); cheerpjCreateDisplay(800, 600); await cheerpjRunJar("/app/SwingHTMLBrowser.jar"); })(); </script> </body></html>What’s going on?
- The script tag in the
<head>loads CheerpJ. cheerpjInitinitialises the CheerpJ runtime environment.cheerpjCreateDisplaycreates a graphical environment to contain all Java windows.cheerpjRunJarexecutes the application./app/is a virtual filesystem mount point that references the root of the web server this page is loaded from.
2.2 Serving the application
You can now serve this page from an HTTP server, such as http-server![]() .
.
npx http-server -p 8080You will be able to see the page in a modern browser running with CheerpJ. Let’s type https://github.com in the Java browser client and press enter. Nothing will load and you will find this error in the console log:

Now try loading a page that is hosted on the local server. Let’s add the following file to the project directory:
<!doctype html><html lang="en"> <head> <meta charset="utf-8" /> <title>Hello world</title> </head> <body> <h1>Hello from the same origin!</h1> </body></html>In the Java browser application type the following address: http://127.0.0.1:8080/hello.html (or any address that corresponds to your local host).
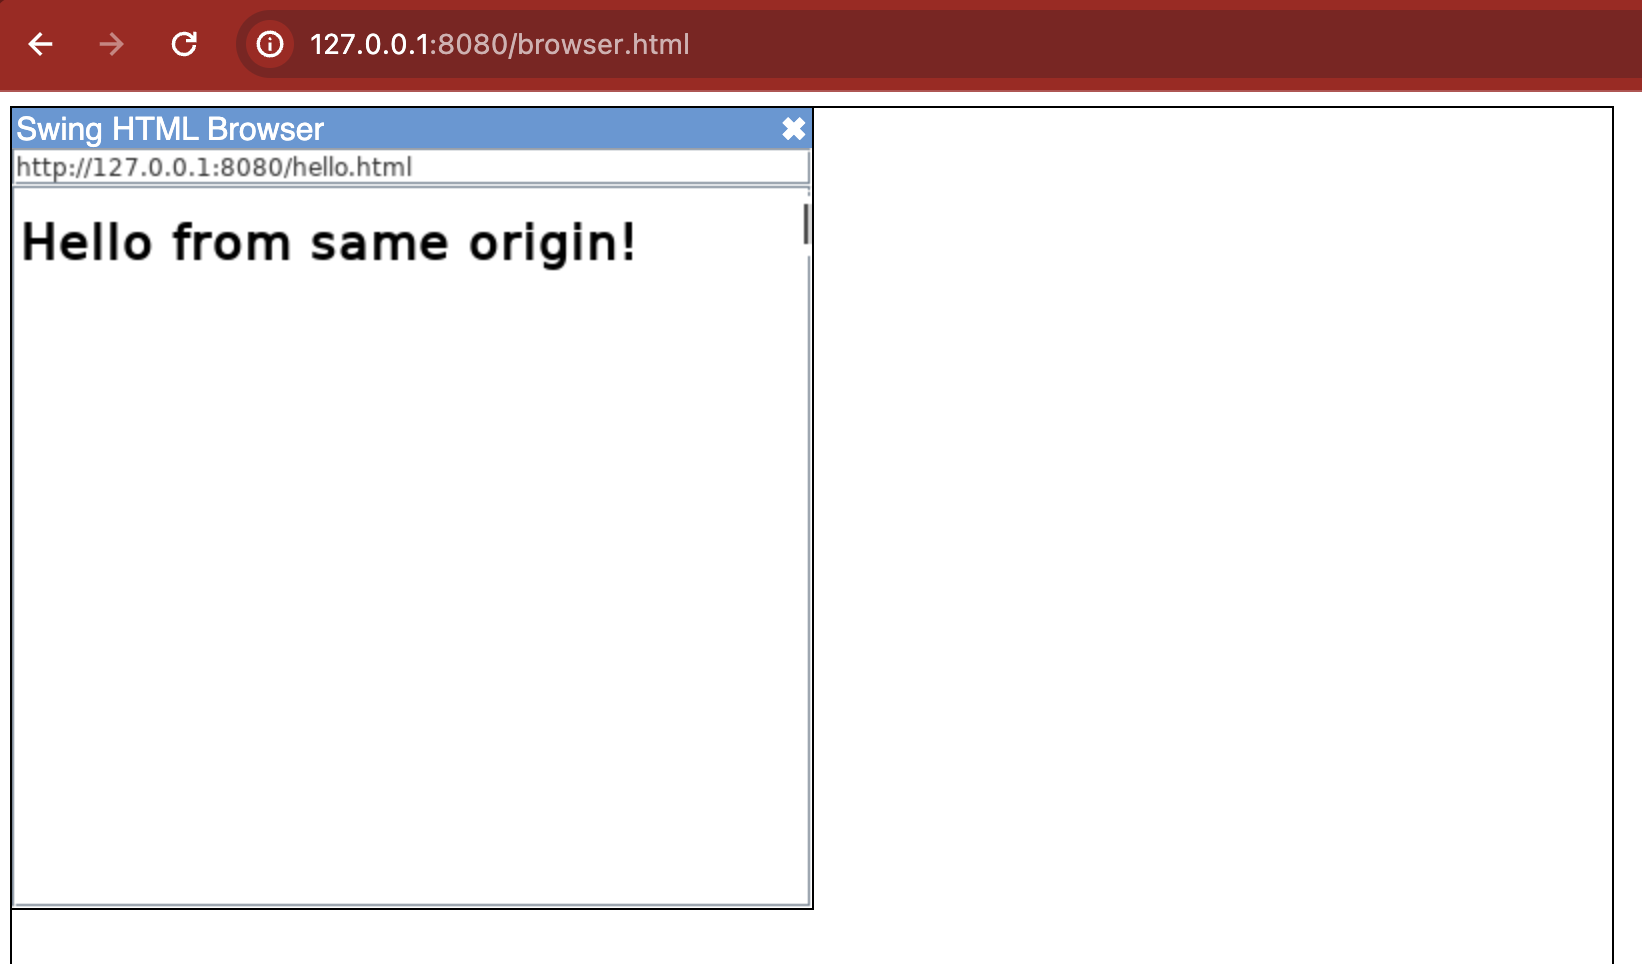
CheerpJ can only do same-origin requests when is not connected to a Tailscale Network. The convenience of this scenario is that, even when the app is running in the browser, it is completely isolated from the wider internet.
…but we want the application to be able to load web pages that aren’t on localhost.
3. Connect the application to the internet
The easiest way to grant your application access to the internet is via a Tailscale network (Tailnet in Tailscale terminology). A Tailscale network is a VPN made of machines/users (Nodes in Tailscale terminology) connected to this network. A Tailscale network by default is isolated from the internet, so it is necessary to configure an exit node that routes all the internet traffic in and out of your VPN.
3.1 Set up Tailscale
Creating a network with an exit node is very simple:
- Create an account and log in to the Tailscale portal
 .
. - Install Tailscale in your machine, you will be configuring this machine as an exit node later.
- Set up your machine as an exit node following the instructions here.
3.2 Authenticate your Java application
Connecting to a Tailscale network requires an authorization key.
- Generate an auth key here We recommend creating an ephemeral one-time use auth key for this tutorial.
- Copy your key and pass it to CheerpJ via
cheerpjInitandtailscaleAuthKeyby modifying yourbrowser.htmlas follows:
await cheerpjInit({ tailscaleAuthKey: "PasteYourKeyHere",});4. Final test
Now reload your page and try loading https://www.google.com/ or https://www.github.com/ in the Java browser application. This time you should be able to open the website with no problems.
You can also verify and supervise the connections in the Tailscale dashboard![]() .
.
Download the project template here or visit the GitHub repository![]() for this tutorial.
for this tutorial.
DisclaimerRemember that granting your application access to the internet involves several risks. The methodology shown in this tutorial aims to give a general understanding of a very simple networking scenario for learning purposes only. We recommend being careful about how you manage your authentication methods, exit nodes and overall administration of your network. CheerpJ is not responsible for this.